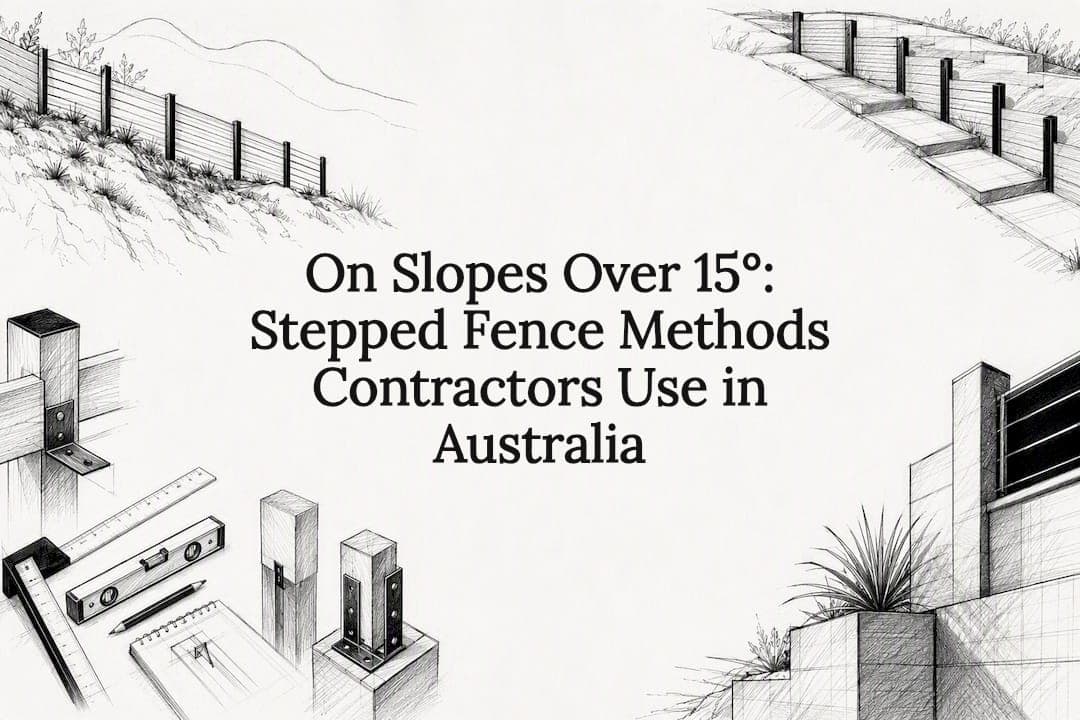
Use a stepped fence when your yard has a moderate-to-steep grade. It keeps rails level and posts plumb while the panels themselves march down the hill in even increments. The method works on slopes steeper than about 15 degrees, and the sequence is always the same: measure the slope, calculate the drop per panel, set plumb posts in concrete, cut them to height, hang level panels, and finish the gaps underneath.
TL;DR:
- Stepped fences are ideal for slopes steeper than 15 degrees, as they keep panels level and posts plumb in even increments while handling steep terrain confidently.
- Material choices matter: wood and chain-link are flexible enough for stepping or racking, while rigid vinyl or ornamental aluminum usually require a stepped installation unless designed to rack.
- Proper measurement of the slope involves stakes, a level, and dividing the total drop by your panel count to ensure uniform steps and avoid crooked fencing.
- Installation must follow a sequence of marking boundaries, setting posts with concrete, cutting posts after they are plumb, and attaching level panels to prevent alignment issues.
- Managing the gaps underneath, often filled with gravel boards or custom fillers, is crucial for drainage and pet containment, especially on steep slopes with water runoff concerns.
Table of Contents
- What Is a Stepped Fence on a Slope?
- Which Materials Work Best for a Stepped Design?
- How Do You Measure a Slope for a Stepped Fence?
- What Is the Installation Sequence for a Stepped Fence?
- How Do You Handle the Gaps Under a Stepped Fence?
- What About Footings, Drainage, and Long-Term Stability?
- Gatecon's Approach to Stepped Fencing on Difficult Sites
- When to Call in a Custom Fencing Specialist
- Sources
- FAQ
What Is a Stepped Fence on a Slope?
A stepped fence descends a hill in a series of level platforms, like a staircase built from fence panels. Each section sits perfectly horizontal, but the post on the downhill side gets shorter than the one on top, so the whole run drops in visible increments as it follows the grade. This is different from a raked fence, which tilts each panel to follow the slope continuously without steps.
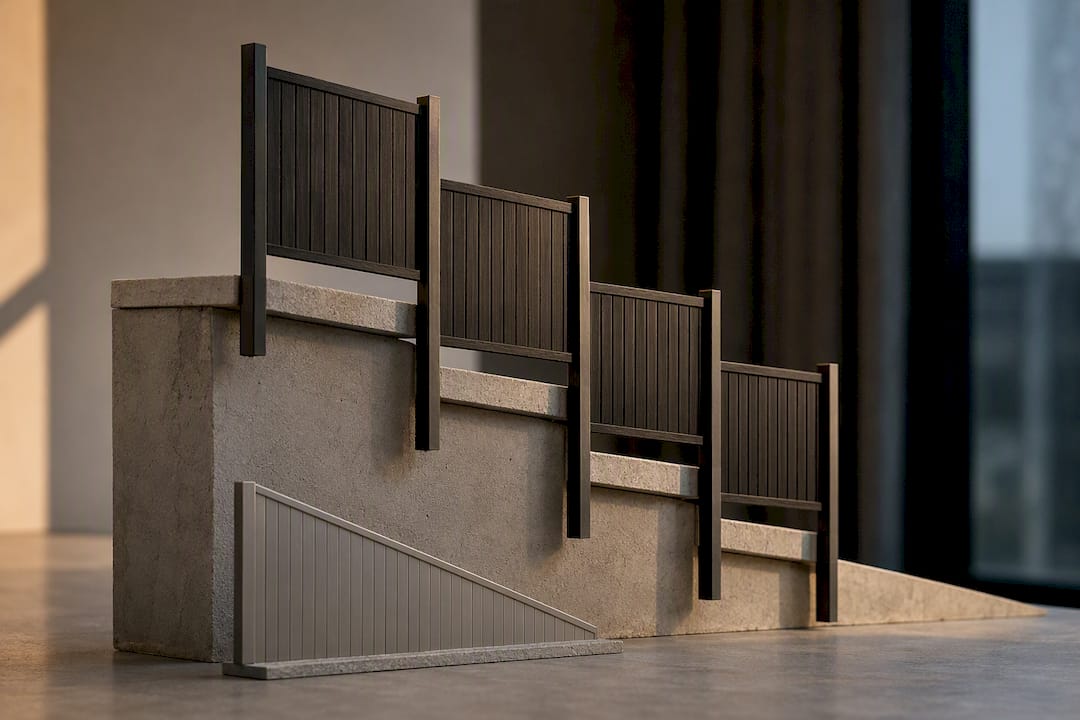
Stepped vs. racked (contour) fencing: how to choose
The choice comes down to one number: how steep is your slope? Fences on slopes steeper than about 15 degrees generally need to be stepped, because racking a fence that steeply distorts the panels and puts uneven stress on the rails. Gentle slopes, on the other hand, usually look better racked. Racked or contour fencing follows the grade continuously and avoids the triangular gaps that stepping creates, but it only works within the flex limits of your material.
Here's how the trade-offs break down:
- Racked fences hug the ground with no gaps, but they demand flexible materials and only work on gentle grades.
- Stepped fences handle steep terrain confidently and keep every panel level, but they leave triangular gaps under each section that need finishing.
- Visual effect differs too: racking reads as one continuous line, while stepping reads as a deliberate staircase, which some homeowners actually prefer on a hillside property.
- Mixed approaches make sense when a single run crosses both gentle and steep ground. Professional installers often switch methods partway through a fence line rather than force one technique across changing topography.
If your slope varies wildly along its length, or if the drop is steep enough that a retaining wall makes more sense than either method, that's worth flagging before you buy a single post.
Which Materials Work Best for a Stepped Design?
Not every fencing material tolerates stepping or racking equally well. Wood and chain-link are the most forgiving, flexible enough to rack on moderate grades or step cleanly when the terrain demands it. Rigid vinyl and most ornamental aluminum panels are a different story: they typically can't bend to follow a slope, so they usually get installed as a stepped fence unless the manufacturer specifically engineers them to rack.
Panel width and post spacing matter more on a slope than on flat ground. Shorter spans between posts reduce the size of each step, which means smaller gaps to fill and less visual stair-stepping across the whole run. A privacy fence with 6-foot sections will show more dramatic steps than the same fence built with 4-foot panels, even on an identical grade.
Design choices affect finishing work too:
- Picket fences show gaps at the bottom of each picket, usually easy to fill with a short gravel board.
- Privacy panels hide most gap issues visually but need sturdier filler boards since the gaps are wider and more exposed.
- Slatted or louvered designs can actually disguise step transitions well if the slats run horizontally across the stepped sections.
- Ornamental metal panels often need custom-cut filler pieces to match the pattern, which adds cost but keeps the look consistent.
Slopes also expose fences to more runoff and standing water at the low end of each step. Wood posts and rails near ground level rot faster there, and metal fittings corrode quicker if drainage water pools against them. Plan your finish material with that exposure in mind, not just the look you want on installation day.
How Do You Measure a Slope for a Stepped Fence?
Get the numbers right before you buy a single board. Guessing at drop and panel count is the single fastest way to end up with mismatched steps or a fence line that looks crooked from the street.
Tools you'll need:
- Wooden stakes for marking the top and bottom of the run
- Mason line (string) to establish a level reference
- A tape measure for vertical drop
- A spirit level or laser level
- A calculator for the panel math
Measuring the slope:
- Drive a stake at the top of the fence run and another at the bottom.
- Tie mason line to the top stake, pull it level, and attach it to the bottom stake at whatever height reads level on your spirit or laser level.
- Measure the vertical distance from that level line down to the ground at the bottom stake. That's your total drop.
- Divide the total drop by the number of panels you plan to install to get the drop per step.
Here's a real example: a 40-foot run with a moderate total drop, using a higher number of panels, gives you a manageable, subtle stair effect with moderate drop per step. That's a manageable, subtle stair effect. Switch to 4 panels instead of 8, and each step jumps to 15 inches, which looks far more aggressive and may expose bigger gaps underneath.
Pro Tip: Narrower panels almost always beat wider ones on a slope. The wider the panel, the bigger the drop per step and the harder it becomes to disguise the gap underneath without expensive custom work.
What Is the Installation Sequence for a Stepped Fence?
Once you've got your measurements, the build follows a fixed order. Skipping steps here is where most DIY stepped fences go wrong.
-
Mark the fence line and check boundaries. Confirm your property line and call before you dig to locate underground services. This matters more on sloped lots, where utility depth can vary along the run.
-
Set your posts with proper footings. Dig holes below the frost line for your area, and use concrete to anchor each post. Steeper slopes usually call for shorter panel spans and additional posts to keep the structure stable against the added lateral forces a hillside creates. Check plumb with a level after every single post, before the concrete sets. A post that leans one degree at the bottom of a hill throws off every panel above it.
-
Use the cut-after method for consistent heights. Rather than pre-cutting posts to your calculated step height, set them full length in concrete first, then come back and mark and cut the tops once every post is plumb and set. This gives you a clean, consistent top line across the whole run, because you're cutting to a strung level line rather than trusting math done before the posts were even in the ground.
-
Attach rails and panels level between each pair of posts. Every panel should read level on your spirit level regardless of how the post heights step down the hill. Use fasteners rated for your material, whether that's galvanized screws for wood or the manufacturer's clips for vinyl and aluminum systems. Reinforce corner posts and gate posts with extra concrete or bracing, since they carry more load.
-
Test and verify before you call it finished. Sight down the top rail from one end to confirm the steps look even and intentional rather than random. Check that any transition point, where the slope changes angle or where you switch from stepped to racked, lands cleanly at a post rather than mid-panel. If your total drop doesn't divide evenly into whole panels, plan for a slightly shorter or longer end panel rather than forcing an awkward step size somewhere in the middle.
How Do You Handle the Gaps Under a Stepped Fence?
Every stepped fence leaves a triangular gap under each panel where the level rail meets the sloped ground. How you close that gap is largely a matter of budget and how visible the fence is from the street or your main outdoor living space.
- Gravel boards are the standard fix: a horizontal board (wood, composite, or concrete) fitted along the bottom of each panel that follows the ground slope while the panel above stays level. They install quickly and can be replaced later without touching the fence itself.
- Custom-cut filler boards or extended pickets trim to match the exact triangle shape at each step, giving a tighter, more finished look than a straight gravel board, especially on picket-style fences.
- Low retaining walls or small terraces make sense where the drop per step is large or where water is pooling against the fence line. They also solve drainage problems a gravel board can't touch.
- Rock fill or dense landscaping along the gap line is the cheapest option and can look intentional if you plant it well, though it won't stop small pets from finding a way through a larger gap.
Anywhere pet containment or security matters, treat the gap as a functional problem first and a cosmetic one second. A gap wide enough for a dog to squeeze through needs a gravel board or filler panel, not just a row of decorative rocks.
What About Footings, Drainage, and Long-Term Stability?
A stepped fence fails for one of two reasons over time: posts that were never anchored deep enough, or water that was never given anywhere to go. Both problems trace back to decisions made before the first panel ever went up.
- Footing depth and concrete quality matter more on a slope than on flat ground, because gravity is already working against your posts. Extra posts and shorter spans on steep sections spread the load and reduce the chance of leaning over time.
- Slopes increase runoff, which erodes soil around footings faster than it would on level ground. Grading the area to direct water away from post holes, and adding a drainage channel above the fence line where runoff concentrates, prevents most of this.
- Drainage rock in the footing hole helps water escape rather than sit against buried wood or steel, which is the most common cause of slow post failure on hillside installs.
- Heavy clay or loose, sandy soil both call for deeper footings or, in some cases, tie-back anchors on the uphill side. If your soil shifts noticeably with rain, a geotechnical opinion is worth the cost before you commit to post placement.
Pro Tip: Drainage is the factor most DIYers skip, and it's the one that decides whether your fence is still straight in five years. A slightly deeper footing with drainage rock costs very little extra at install time and saves you from resetting leaning posts down the road.
Gatecon's Approach to Stepped Fencing on Difficult Sites
A custom fencing specialist reads every slope before recommending a method, and steep or irregular sites almost never get a one-size answer. A run that changes grade halfway down often gets a mixed solution: stepped panels on the steep section, custom retaining or gravel boards where the drop is too large to disguise with landscaping alone.
Gatecon designs and installs driveway gates and architectural fencing, with craftsmanship applied especially on sites with challenging topography. Instead of a generic gravel board, a boutique project might get a custom-fabricated filler panel that matches the architectural fencing's exact profile, or an integrated low retaining wall that reads as a design feature rather than a patch. Getting the finish to match the house is the part most DIY installs miss entirely.
— Rhys
When to Call in a Custom Fencing Specialist
If your slope is steep, your finishes need to match an architecturally distinct home, or your gap-filling has to look intentional rather than improvised, that's the point where a DIY approach starts costing more in redone work than a professional quote would have cost upfront. A custom fencing specialist handles this from the first site visit: assessing the grade, recommending stepped, racked, or a mixed method, and coordinating any drainage or retaining work the site actually needs.

Gatecon is the alternative to piecing together a slope fix from mismatched materials and generic gravel boards. Every stepped fence project gets custom design and fabrication, so filler panels, gate integration, and retaining details match the rest of the property instead of looking bolted on. For boutique residential and high-end commercial sites across Melbourne, that means one contractor handling the design, the fabrication, and the install, with finishes built to the home rather than pulled off a shelf. If your slope is steep enough to need more than a rack, or your finish needs to match an architectural gate or a distinctive facade, request a site visit and quote and get a plan built around your actual terrain.
Sources
For deeper detail on the calculations and techniques covered here, see Angi's raked and stepped fence methods, FenceAdvisors' guide to stepping, racking, and contouring, and Builders Villa's post and rail slope guide. Browse Gatecon's fencing and gate articles for more on custom fabrication and luxury fencing design.
- How to Build a Fence on a Slope: Raked and Stepped Methods — Angi
- How to Install a Fence on a Slope: Stepping, Racking & Contouring Methods — FenceAdvisors
- How to Build a Post and Rail Fence on a Slope — Builders Villa
FAQ
How do you build a stepped fence on a slope?
Measure the total vertical drop with stakes and a level line, divide it by your panel count to get the drop per step, then set posts full length in concrete, cut them to the calculated step heights, and hang level panels between them.
Can you install a fence on a slope?
Yes. Fences go on sloped ground all the time using either a racked method, where panels tilt to follow the grade, or a stepped method, where panels stay level and descend in increments.
How can you build a fence on a steep slope?
On steep slopes, stepping is almost always the right method: shorten your panel spans, add extra posts, and use deeper footings with solid concrete anchoring to handle the added lateral load and erosion risk.
What's the difference between a sloped and a stepped fence?
A raked (sloped) fence tilts each panel continuously to follow the grade with no gaps, while a stepped fence keeps every panel level and drops down the hill in stair-like increments, leaving gaps underneath that need finishing.
Does Gatecon install stepped fences on sloped properties?
Custom stepped and mixed-method fencing can include matching architectural fencing and gate finishes to steep or irregular sites; current pricing and site visit details are typically available on the provider's website.